When I first started climbing, I used to store my climbing chalk in the hot, humid trunk of my car. The chalk became completely ruined within a month, well before the chalk’s “expiration date”. This got me wondering – does it matter how you store climbing chalk? If so, what is the best way to store it?
To make climbing chalk last longer, you should store it in an airtight container and keep it in a cool, dry place. You can keep the chalk in the resealable store-provided packaging or you can transfer the chalk into reusable, resealable food storage containers such as plastic zipper bags.
Many chalk products include an expiration date that is wildly inaccurate and is highly subject to the storage techniques used after purchasing the chalk. In addition, there are multiple ways to bring your chalk back to life after you believe it has gone bad.
If you are interested in seeing what the current prices are for the most popular rock climbing chalk bags, you can find them on Amazon by clicking here. Using the Amazon affiliate link above and/or other links in the article helps support this website.
The Best Way To Store Different Chalk Types
The best way to store any kind of chalk to ensure a long shelf life is to keep it in airtight packaging. This will prevent moisture from entering the container and ruining the effectiveness of the chalk. That being said, there are slight nuances when selecting the proper storage method for each individual chalk type.
Loose Powdered Chalk
This is my personal chalk of choice and also the type of chalk that I ruined in the trunk of my car. I (somewhat stupidly) decided to remove the chalk from its store-provided packaging and transferred it into a plastic zipper bag. This would not have been a problem if I had made sure to close the bag entirely and would have moved the bag from the trunk of my car into the closet of my apartment at the time.
Loose climbing chalk will generally come in resealable store-provided packaging that will suit all of your chalk storing needs. In addition to keeping it in the package, be sure to keep your chalk in a cool, dry place. Examples of this can include: in your closet, in a locker at your local climbing gym, or even under your bed to prevent any potential robbers from stealing it.
Chalk Blocks

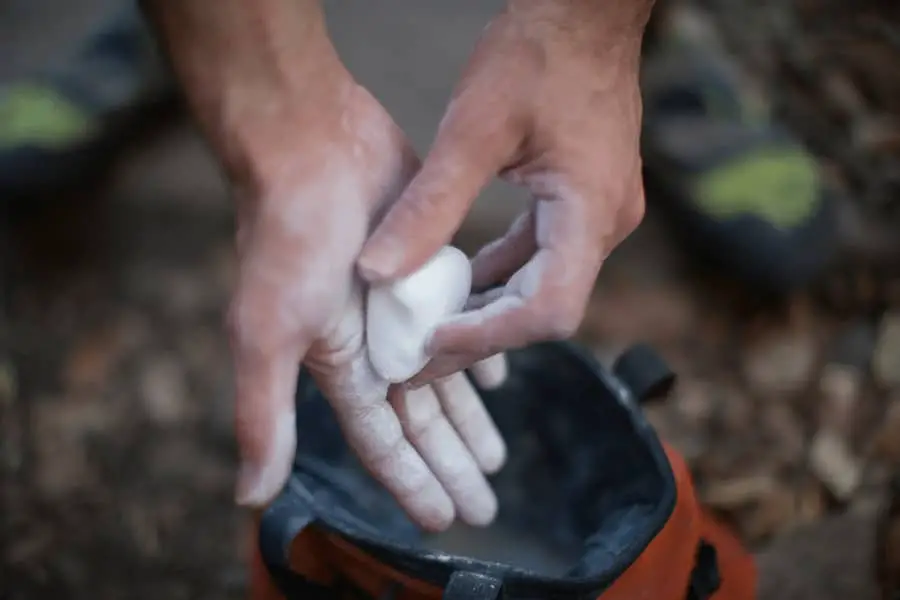
Chalk blocks do not commonly come in resealable packages like powdered chalk does. Once you break off the amount of chalk you need, crush it, and place it in your chalk sock and subsequent chalk bag, you will be left with the remaining uncrushed chalk block.
You should transfer this block into a storage container that has an airtight seal like a plastic container or plastic zipper bag (be sure to learn from my mistake and FULLY close this container after opening it). The same rules apply to keeping this airtight container in a cool, dry place as discussed above in the loose powdered chalk section.
Liquid Chalk
Liquid chalk is basically unscented hand deodorant. As such, it has the simplest method of storage. All you have to do is keep the cap completely closed on the container when you are not using it. Make sure to keep the liquid chalk out of direct sunlight and hot temperatures which could cause the air in the bottle to expand and might lead to a small, yet messy, explosion of liquid chalk.
How Long Will Your Chalk Last?
If you store your chalk properly as discussed above, your chalk essentially will never go bad. Dry climbing chalk (loose powdered chalk and chalk blocks) is composed of magnesium carbonate, a substance that does not readily decompose, dissolve in water, or evaporate at normal daily temperatures.
Liquid chalk is just the combination of magnesium carbonate and 70% isopropyl alcohol at a 2:1 chalk to alcohol ratio. As long as liquid chalk remains sealed in its airtight container, it will basically never expire.
Most climbing chalks come with an expiration date. The listed expiration date is NOT accurate at all. The expiration of your chalk will entirely depend on how well you are able to store it.
If you store your dry chalk improperly and subject it to wet or humid environments, your chalk will loose its effectiveness relatively quickly. In certain circumstances such as leaving your chalk out unsealed in a misty rain, your chalk can lose its effectiveness within a matter of minutes. Nothing is worse than using climbing chalk that no longer provides you with the grip you need. (that last sentence may have been a slight exaggeration)
What Makes Climbing Chalk Go Bad

As you may have deduced by now, dry climbing chalk goes bad when it gets moist or wet. It does not need to be sitting in a pool of water for hours before it looses its effectiveness either. Chalk can go bad just by leaving it unsealed when you are climbing outside on a humid day.
Below are a few common mistakes I have seen fellow climbers make when storing their dry chalk that have lead to its temporary demise:
- storing the chalk unsealed in damp basements
- storing the chalk unsealed in a car trunk during hot months (…whoops)
- storing the chalk unsealed in the bathroom during a shower (yes… this actually happened)
- storing the chalk in direct sunlight in an unsealed container (condensation is still a thing)
- leaving the chalk near open water bottles (spills happen)
- allowing the chalk to get wet in the rain
If you are wondering whether your chalk has gone bad then it most likely hasn’t. Moist climbing chalk just feels wrong. It no longer enhances your grip. Instead, it will feel greasy, slimy, and wet. Wet climbing chalk (not to be confused with liquid climbing chalk) turns into a weird gooey chalk mass.
Liquid chalk on the other hand will go bad when you leave it sit out unsealed too long. This moisture will evaporate from the mixture and the chalk will start to dry out. After enough time left out, it will dry out completely and harden up making it unusable.
How To Fix Your Chalk
There are a few different ways to revive your gross moist/wet chalk.
Option 1: Dry Out Your Chalk In An Oven
This is the easiest way to dry out your chalk at home. To do this, thin spread your chalk out on a cookie sheet. No need to spray this with non-stick cooking spray or put down parchment paper, you aren’t actually making cookies here. Set the oven to 250 degrees Fahrenheit (or about 120 degrees Celsius) and place the cookie sheet in it.
After about an hour your chalk will be dry. The exact time to be completely dry will depend on how thick of a chalk layer you have. The thinner the chalk layer, the quicker it will dry out. If you have a lot of chalk to dry out, you can use multiple cookie sheets to speed up this process.
Pro tip : make sure you turn OFF the convection feature of your oven. If you leave the convection feature on, your chalk will fly around all over the place in the oven. And although this may look like a neat giant snow globe for a bit, it is NOT worth the clean up.
Option 2: Dry Out Your Chalk Outside
If you prefer a more natural method or don’t have access to an oven, then this may be the option for you. All you have to do is wait for a hot day and leave your chalk spread out outside for a few hours. This may sound simple; however, it has a few major drawbacks compared to Option 1 as discussed below.
Cons of Option 2: this option is highly weather dependent. It will not work well for climbers in humid environments or during colder months. On top of this, a strong wind can send all of your chalk flying never to be seen again.
Re-Wetting Liquid Chalk
I have created a simple 5 step process to get your liquid chalk back to usable condition.
- Remove as much of the dried out chalk as possible from the original container.
- Place the dried out chalk in a bowl and crush it up to a powder.
- Add a small amount of 70% isopropyl alcohol and stir it in with the dried out chalk.
- Repeat step 3 until you have achieved the desired consistency.
- Pour the liquid chalk back into the store-provided packaging and reseal it.
The bottom line? Don’t be afraid to buy your chalk in bulk. If it is properly stored it will essentially last forever; and if it gets wet (or if liquid chalk dries out), there are ways to bring it back to life.
