When I was going to lead climb for the very first time, I was more than slightly nervous to take my first fall. In preparation of this, I watched many youtube videos and scoured the internet in search of the best falling techniques. Here is what I found out:
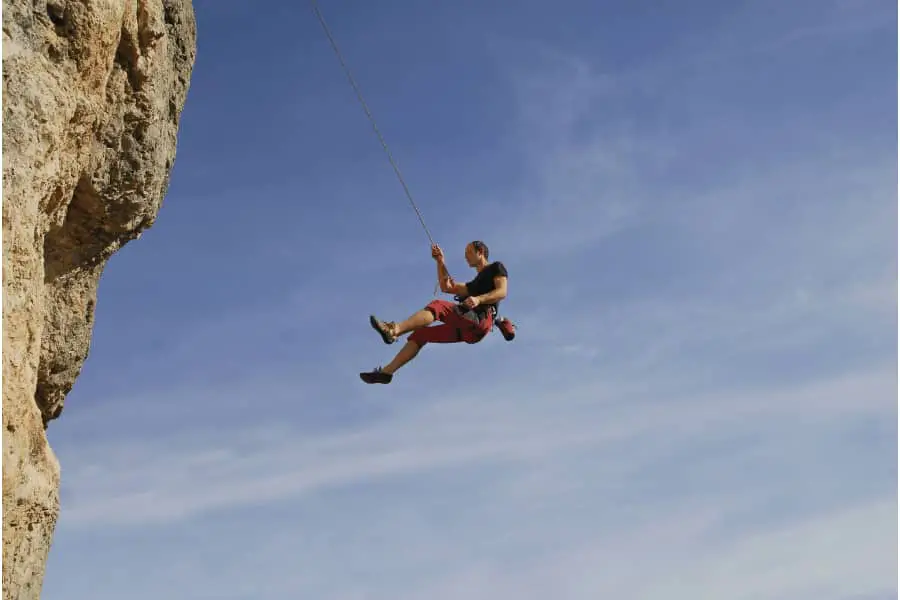
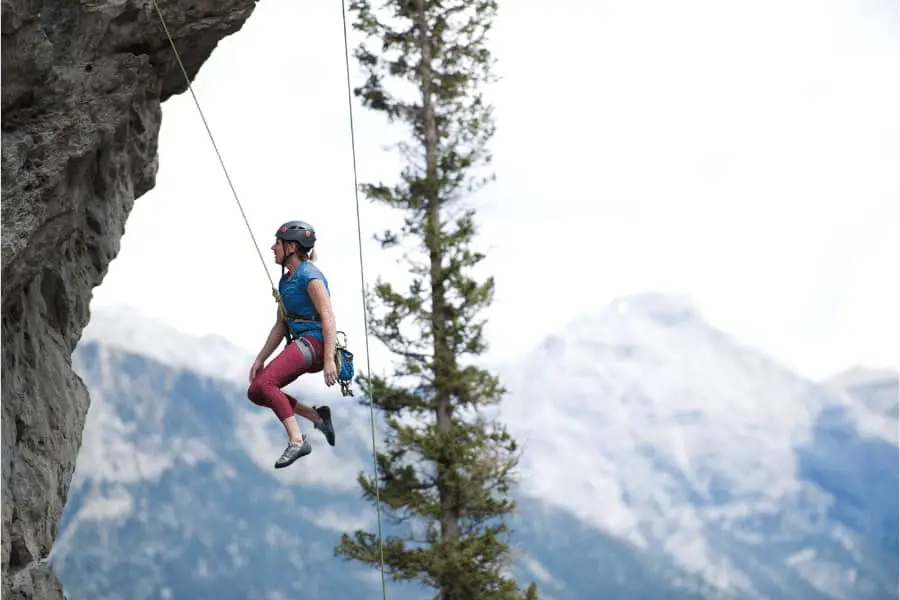
The safest way to fall lead climbing is to yell “falling!” as you are about to fall, let go of the wall and drop straight down. Keep your arms at chest height and knees and elbows in bent positions. Do not push yourself off of the wall or grab at anything to stop yourself on the way down.
Falling large distances is dangerous if done incorrectly and should be taken seriously when climbing. Certain measures can be taken ahead of falling and after falling to decrease the probability of injury.
If you are interested in seeing what the current prices are for the most popular rock climbing shoes, you can find them on Amazon by clicking here. Using the Amazon affiliate link above and/or other links in the article helps support this website.
How To Safely Take A Fall Lead Climbing
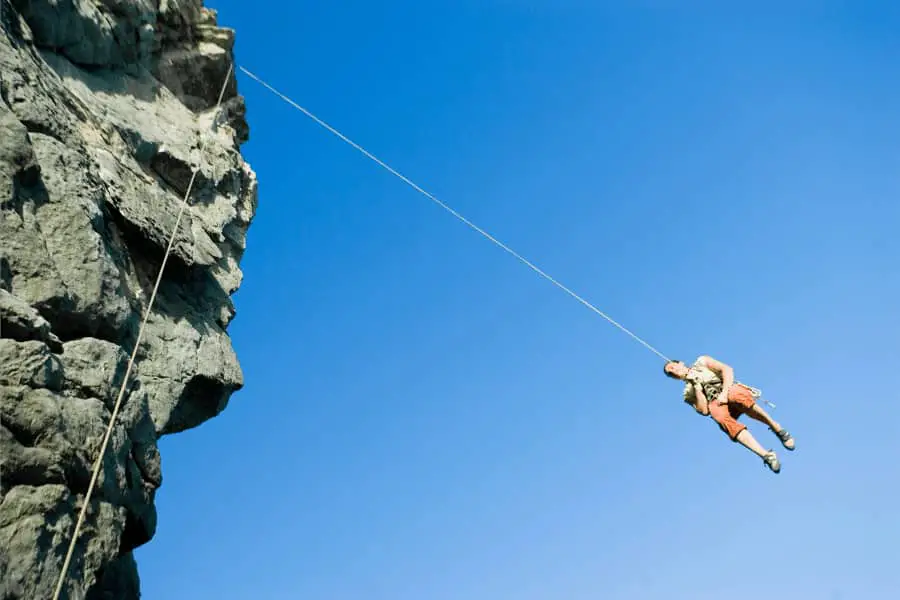
When lead climbing, you can fall up to twice the amount of the distance you are above your last clip. For some routes, these clips can be 3 meters (10 feet) or more part. This means that on a normal route you can take a fall of 6 meters (20 feet).
Falling 20 feet can be scary no matter who you are. To take some of the fear out of it, I created a systematic approach to help walk people through it every step of the way. To do this, I broke the fall up into 3 distinct phases.
Breaking the fall up into 3 phases allows you to better focus on what you can do to prevent injuries every step of the way when falling. These phases are:
- Before taking the fall. This section tells you how to properly prepare yourself to take a fall.
- Taking the initial fall. This section walks you through what to do when you are in the process of falling.
- After the initial fall. This section informs you what to do now that you’re in mid-air.
It is very important to understand each phase of falling above. Doing any of these phases incorrectly will increase your chance of injury. When done correctly, these 3 phases will save you tremendous amounts of pain and will help you improve along your climbing journey.
Before Taking The Fall
Safely taking a fall in lead climbing begins way before the fall itself.
Before beginning the route, try to identify “no fall zones”. These zones will be areas that taking a fall could lead to serious injury do the the shape of the rock/wall. Identifying these zones allows you to decide if you are skilled enough to climb that route without taking serious injury. If you are not confident you can complete the “no fall zones” without falling, look for a different route.
Once you have chosen your route and have begun climbing, be sure to keep the rope between you and the wall. You can get caught in the rope when falling if the rope strays out behind/away from you and the wall. Getting caught in the rope when taking a fall is a sure fire method to get yourself injured. By always keeping the rope closer to the wall than yourself, you prevent this possibility.
If you know that a difficult part of the route is coming up or if you can feel your grip strength failing, prepare your belayer for a potential fall. To do this, yell “watch me!” down to your belayer. Be sure to be loud and speak clearly. This will give you belayer time to prepare for your fall and will have them on high alert.
Taking The Initial Fall

Now you are feeling yourself come off the wall. If this is unexpected and you didn’t tell your belayer “watch me!”, do not be afraid. Your belayer’s job is to keep an eye on you on the wall and they should see you begin to fall. On top of this, you should yell “falling!” loud and clear. That way, your belayer knows without a doubt you are falling and they need to catch you.
Look for obstructions beneath you when falling. If you have chosen your route properly, then you should not need to push yourself off the wall to avoid obstacles. If your path is obstruction free, do NOT push yourself off the wall. Instead, drop straight down. Dropping straight down will prevent you from swinging back into the wall and will prevent injury.
While dropping straight down, start to prepare your body to stop by bending your knees and arms slightly. Bending your knees will put you in a sort of seated position and will allow you to better absorb the fall. Bending your elbows and keeping your arms at chest height will keep allow your hands to be ready to brace yourself if you come back into contact with the wall.
Also, don’t be afraid to breathe! Breathing out when falling will relax your body and help you to not tense up. Tensing up will make you stiff and won’t allow you to absorb the fall as much as being relaxed.
After Taking The Initial Fall
Now that you are mid-air, your belayer will be in the process of catching you. You should start to look at where you will be landing and properly prepare yourself for that.
To do this, anticipate where you might come back into contact with the wall and be sure to have your feet ready to embrace the wall. Having your knees in an already bent position will allow you to gently catch yourself. Once your feet have come into contact with the wall, have your hands ready to stable yourself on nearby holds.
Ta-da! You have now successfully taken a fall lead climbing!
What Not To Do When Falling

Knowing what not to do when falling can be just as important as knowing what to do. Below is a list of items you should NOT to do when taking a fall.
- Push yourself off the wall. This will increase your outward trajectory and send you hurling toward the wall in a pendulum like motion once the rope catches. Ouch. ONLY push yourself off the wall to avoid an obstacle/obstruction directly underneath you that would cause you harm.
- Grab at things to stop your fall. Grabbing at items on your way down is a great way to cause yourself some major finger/hand injuries. Trust that your equipment and belayer will catch you.
- Be quiet. Always let you belayer know when you are taking a fall. Being vocal allows your belayer to properly prepare to catch you. If your belayer cannot hear you say “falling”, they will have less time to prepare to catch you when you come off the wall.
- Yell “Take!” instead of “Falling!” when you have already lost your grip. A good belayer will do different things after hearing “take” or “falling”. When hearing “take” your belayer will attempt to keep you locked in place. The steps taken by the belayer for that command will lead to a more jolting stop if you are already in mid-air.
How to Practice Taking a Fall
Practice is important for everything you do. The best way I have found to practice taking falls is to go to your local climbing gym with a climbing partner and have a falling session. For beginners, I recommend climbing about halfway up the wall and about 1 meter (3 feet) above your last clip. Then… intentionally fall.
When intentionally falling, be sure to follow the process laid out above. Try to follow every step from before taking the fall to after you’ve fallen. Do this until you have become comfortable with the process and are confident in your abilities.
My climbing partner and I will take turns climbing and belaying to become comfortable with each others styles. We will climb about halfway up the wall and try moves that are beyond our climbing level. (This is to make sure we actually fall). We vary the distance between our last clip (between 1 to 3 meters) and where we take the fall. Varying the distance allows us to get a better feel of what to expect when climbing a route for real.
The bottom line? Yell “falling!” when you feel yourself coming off the wall and do not push off unless you absolutely have to. Falling can be dangerous when done improperly but is nothing to worry about if you have properly prepared yourself.
