
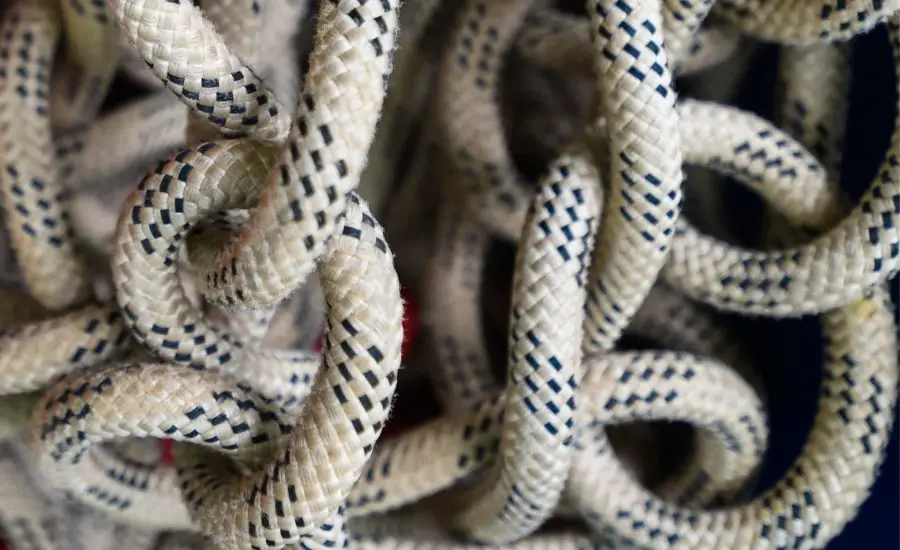
If you are looking to learn how to dry your climbing rope quickly, you came to the right place. There are a few key techniques that speed up the drying process.
On average it will take between 8 and 48 hours to completely dry a wet climbing rope. The drying time depends on the drying method, rope thickness, extent of saturation, and drying environment. Flaking a rope onto a towel will typically take longer to dry than loosely hanging it to air dry.
Between 8 and 48 hours is a very wide time frame. This has a lot to do with the methodology used to dry the rope. By following the steps laid out in this article, your rope will be dry well within a day and much closer to that 8-12 hour mark.
Before we do anything else, we need to discuss how NOT to dry your climbing rope.
As a general rule, you should not dry your climbing rope by using a drying machine or any other source of direct heat. In addition to this, you should not set your rope out in direct sunlight to dry either. Direct heat and the sun’s UV rays will damage the rope and decrease its lifespan.
If you just realized it’s probably time to get a new climbing rope, you can check out the current price of the most popular options on Amazon here!
Now that we got that out of the way, let’s get into how to exactly dry your rope so that it doesn’t get damaged and doesn’t take two days to dry.
Following the step-by-step guide below will have your rope dry in less than a day!
1. Remove the Rope from the Water
This step is very intuitive and should go without saying. That being said, it is included on this list so you know exactly where we are starting from. No climbers left behind.
2. Shake Out Any Excess Water From the Rope
Depending on how your rope got wet will determine how effective this step will be. If you were soaking your rope in a bathtub to clean it, then this will be highly effective. If you were just climbing and your rope got rained on a bit, then this is not going to accomplish a lot.
Shaking off any excess water will prevent that water from soaking into it later and will help cut down on the drying time in the long run.
3. Untie the Rope
Again, this largely depends on how your rope got wet. Most methods to wash rope include daisy chaining it or tying it up some other way. Now it is the time to untie it and allow it to spread out.
Spreading it out increases the area for the air to contact the rope and speed up the drying process. Keeping it bunched/tied up not only will take longer to dry but it may even lead to mold.
We waited to do this after shaking out the rope because it is much easier to shake when it is tied up and solid. Shaking the middle of a 60m rope really doesn’t do a whole lot. Feel free to shake the ends again though.
4. Pat Down the Rope With a Towel
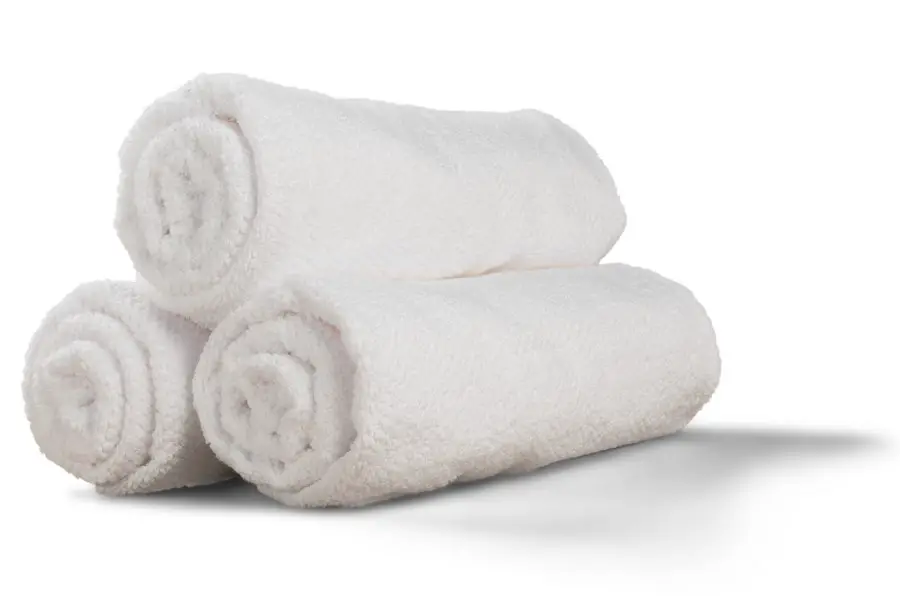
To do this properly, you will want to do a squeeze/pat combination. This is described below:
Start on one end of the rope and wrap a towel around a segment of the rope. Grab the towel wrapped end of the rope and firmly squeeze it. Do not squeeze the crap out of it, just a firm grasp. Then let go, move your hand down to the next unsqueezed-portion, and repeat this until you reach the end of the towel segment. Move the towel and repeat this process until you reach the other end of the rope.
Note: You are not grasping the towel, squeezing, and pulling it down the rope. This can potentially damage the rope. You will be “patting the rope down” by letting go every time you move your hand. At no point should you be dragging your squeezed hand along the rope.
5. Find The Best Drying Environment
There are basically two environments to choose from: inside or outside. There is no definitive answer on which is best between the two. It largely depends on current weather outside and what spaces you have available to hang the rope (next step).
When to Dry Your Rope Outside
As we first talked about, you do not want to expose your rope to excessive amounts of sunlight. So if you choose to go this route, you will need a well shaded area that will protect the rope from any sunlight.
Drying your rope outside will be optimal in a dry heat (90°F or above with less than 30% humidity). The amount of time it will take to dry your rope will increase as it gets more humid or colder. Wind will help dry out your rope quicker but you need to make sure it doesn’t blow on to the ground (rare, but it happens). °F°F
When to Dry Your Rope Inside
I recommend drying your rope inside if any of the following criteria are met:
- You do not have a way to keep the rope in the shade
- It is less than 60°F outside
- The relative humidity exceeds 60%
- It is rain/thunder storming
If you do decide to hang your rope up inside, pick a place that is well ventilated and away from kids and pets. When in doubt, I recommend picking an indoor climate-controlled environment. Your rope will still dry out quickly and you will have more control over the process.
6. Loosely Hang The Rope to Air Dry
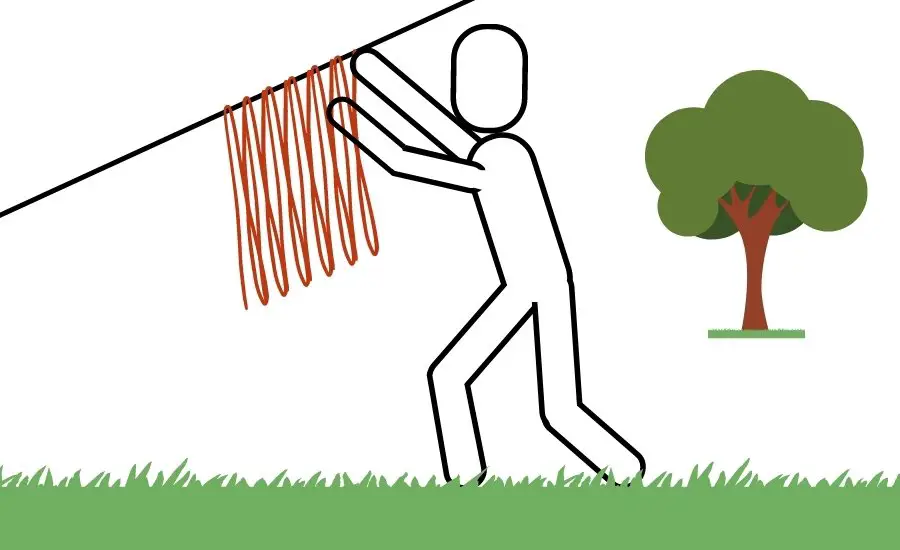
Once you have picked where you will be keeping your rope to dry out, it is time to hang it up. To do this properly, loosely flake it out over a bar or clothing line so that it is spread out and not touching (seen in the illustration above).
If you are wondering what to use to hang it up on, here are a few popular options:
- Clothing line (in the shade)
- Banister
- Shower-curtain rod
- Laundry rack
- Back of two chairs
- Heavy duty drying rack (if available)
- Metal climbing gear shelves
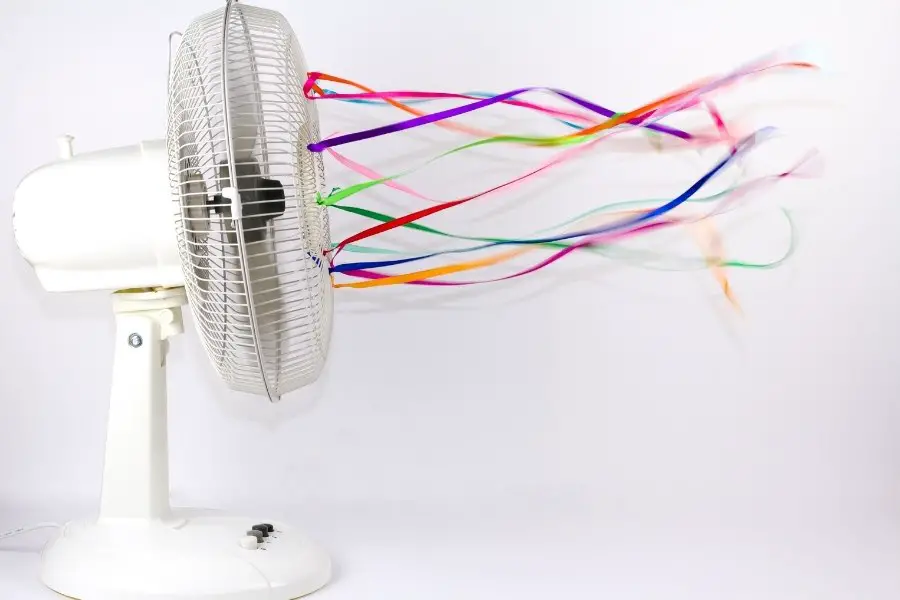
7. Position a Fan to Blow on the Rope
To help speed up the drying process, set a fan up to blow on the hanging rope. (if you hang it up outside and it is windy, this step is likely unnecessary).
I recommend using a table fan, oscillating stand up fan, or box fan. While ceiling fans will help circulate air throughout the room, blowing direct air on the rope will have the quickest effect.
8. Rotate the Fan’s Position
Depending on your setup, this will involve either changing the fan’s location or rotating the rope position.
After an hour or two, move the fan so that it is blowing on a new portion of the rope compared to where it previously was. If this is impossible, you can shift/rotate the rope’s position such that a new area of the rope is getting hit by the fan.
Doing this helps dry the entire rope and won’t leave you with still wet portions at the end.
9. Repeat Step 8 Until Dry
Keep changing the position of the fan and rope until the rope has become completely dry. Depending on your rope, how wet it got, and how good your setup was, this could be anywhere from 8 to 24 hours from when you started. Personally, I have found that my rope typically dries out completely within 12 hours of starting this process.
To know when your rope is completely dry I recommend weighing it before and after the process. Knowing the dry weight before it gets wet lets you know what it needs to weigh at the end.
Once the rope is completely dry, and only then, you can take it down and store it for your next climbing session.