
You will want to build your outdoor home climbing wall to last. There is no sense in putting in all that time, money, and effort just to have it be ruined within a year or two.
To ensure that your home wall lasts, I put together this list of 10 ways to protect your outdoor wall. Not every single item on this list is meant to be used in conjunction with the others.
I recommend using the majority of these tips, but some of these will be redundant if used together. Therefore, it is recommended to read every option and evaluate if a different one may work better for you.
Below are 10 ways to protect and weatherproof your outdoor home climbing wall:
1. Use Weather Resistant Climbing Wall Material
Protecting your wall from the environment starts even before it is constructed. Choosing the right wall material is key in not only having your wall be usable, but also in having it stand up to the elements.
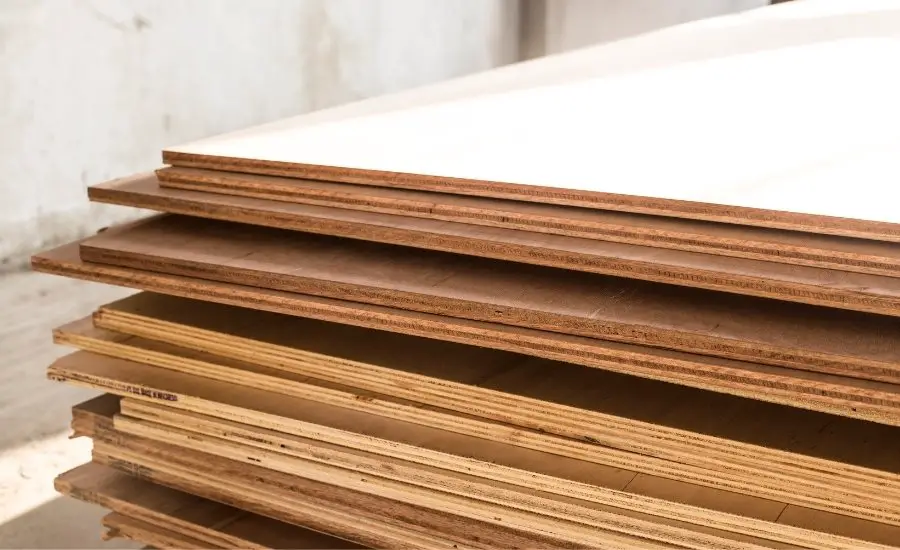
I wrote an entire article looking at the different types of wood to use for an outdoor climbing wall. It evaluated how different wood types performed based on strength, stiffness, and durability. Picking the wrong wood could not only make your wall’s life short lived but it could also make it dangerous to even just climb on.
To see which wood is best for an outdoor home climbing wall, I suggest checking out my article here.
2. Use Galvanized Metal Materials
While normal metal parts will hold up fine for a bit, eventually they will begin to rust and you will have to replace them. These will rust especially quick for those of you living in places that are very humid or get a lot of precipitation.
Using galvanized nuts, bolts, screws, brackets, etc. will help prevent them from rusting out. Without getting too deep into the science behind it, galvanized steel products have a thin coating of zinc which helps protect them against rusting.
If you really want to be extra weather resistant, you can opt to get stainless steel materials. While these are much more expensive than galvanized and regular metal, these will hold up the best to weather conditions and last the longest.
That being said, I do not think using stainless steel is needed for your outdoor climbing wall (especially if you follow other tips on this list). Galvanized metal should provide you with the rust protection you need.
3. Elevate the Base
Building your wall in a depression is a sure way to speed up the rotting process. All of the runoff water will pool in the depressed area (where your climbing wall is) and soak into the base. I may not be a carpenter but I sure as heck know that leaving wood in standing water is not ideal for its longevity.
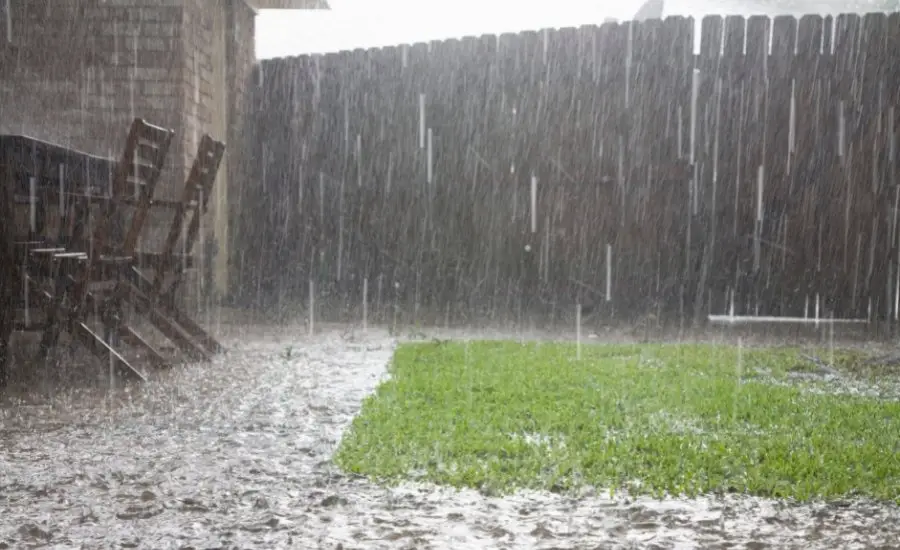
By placing your wall in an elevated area relative to the rest of its surroundings, it will make sure that standing water will not pool around its base.
If you do not have a naturally elevated area, you could construct a pad to keep it up. If your wall is already in an area subject to pooling, I suggest making a preferential pathway for the water to flow and direct it away from the wall.
4. Place it in a Clear Area
Placing it in a clear area has more to do with potential animal and insect damage. Placing your wooden wall near trees or other vegetation is an invitation to insects and other animals to mess around with it. Termite damage is not a joke. Especially on something that you will be climbing on.
By placing your wall away from trees and vegetated areas, you will decrease the chance of it sustaining significant insect and animal damage.
5. Stain the Wood
Staining your wood will not only make it look good but it will help protect it for outdoor use.
While sealing your wood is good, I believe staining your home climbing wall will be better. Staining the wood actually penetrates into the material and doesn’t just coat the outside of it. This penetration will provide the same water-repelling benefits as sealants and protect it against harmful UV rays.
Below is a brief YouTube video by SawsHub DIY Woodworking Tips that I found very helpful. It walks you through two different ways to stain plywood.
6. Seal the Wall’s Edges (Including Holes for Climbing Holds)
Sealing the wall’s cracks and edges will help keep them from rotting away on you. This can easily be accomplished by applying a thin coating of polyurethane, varnish, or lacquer to any cracks, edges, or seams you find.
The thing most DIY climbing wall builds fail to talk about is sealing the t-nuts when you pound them in. I found that if t-nuts do not get pounded in all the way, water is able to easily infiltrate the hole and start to rot and rust away at it.
An easy way to prevent this rotting is to coat the underside of the t-nut head (what comes in contact with the wood) or the perimeter of the hole (that touches the t-nut head) with sealant. Keep in mind, you do not need to use a lot of it, just a thin layer will do.
There are even sealants that have adhesives built into them. My favorite sealant/adhesive combo to use for this can be seen on Amazon here. It seems to perform very well in keeping the t-nuts in place and preventing water from seeping in.
7. Paint the Wall
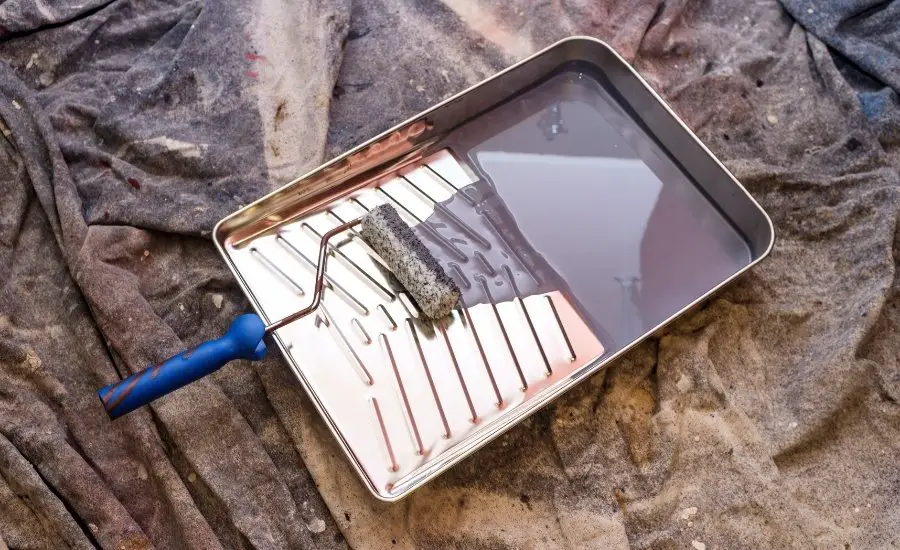
Painting the wall will make it look nice but that’s not all. Painting it will help the wall withstand UV rays, precipitation, humidity, and reduce the effects of insects and other animals. Opting for a water proof paint may be easier to apply and make the wall look better than staining it. That being said, staining it will be better for the longevity of the wall.
I recommend mixing a bit of sand with the paint. Sand will help give the wall some texture and help out with smearing.
8. Install Back Panels
While some home climbing wall building tutorials include back panels, most don’t. Which is a shame. This is my personal favorite method to help protect climbing walls from the outdoors.
While these may not seem like a big deal, installing them can really make a difference in your climbing wall’s lifespan. Home climbing walls are typically built on an angle with all the important stuff (t-nuts, support beams, etc.) open and facing the elements on the back.
Placing back panels over that area will help keep these dry and prevent water from pooling between the wall and support beams. Just remember to seal the back panels and make them able to come off. If you need access to the back of your wall for maintenance or repairs, these will need to be temporarily removed.
9. Set Up a Shelter
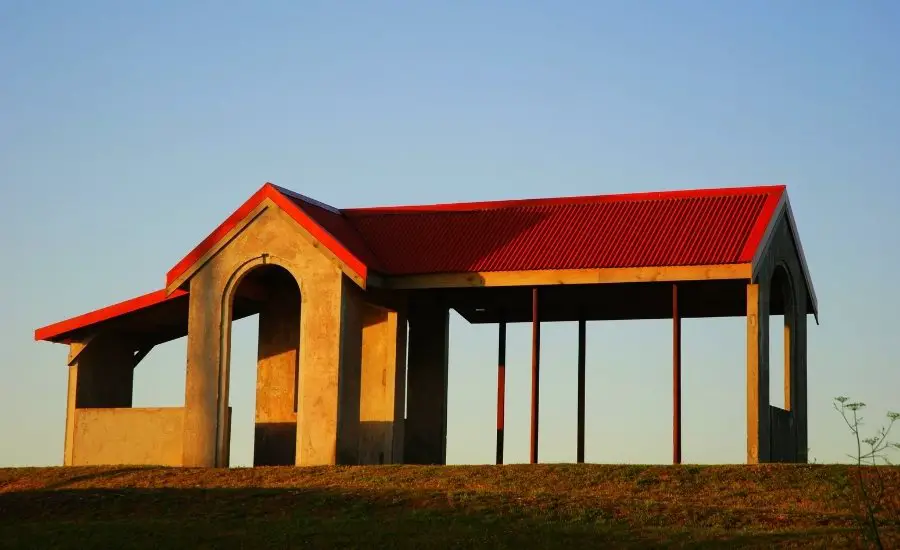
You do not have to construct such a fancy structure as the one pictured above. Constructing a shelter similar to a carport with sides will be the best route to prevent precipitation and UV rays from hitting the wall. Having 3 side walls on it would be ideal to prevent the wind from blowing rain into it.
That being said, constructing one of these is a project all on its own. There are some large portable shelters out there but they can get a bit pricey. This is where the next tip comes into play.
10. String or Drape a Tarp Over It
Simple. Quick. Cheap. While this certainly won’t be the most aesthetic or effective option, it will help keep the wall dry.
There is only so much area a tarp can cover. In addition, it won’t do anything to protect the wall against humidity. That being said, doing a little is better than doing nothing at all.
